

EDITING AND RETOUCHING FAMILY AND NEWBORN PHOTOGRAPHS; WHAT HAPPENS BEHIND THE SCENES
The end of your photoshoot is less than the halfway point of the photo production process. After I put down the camera the most labour intensive but also creative portion of photography really kicks in with the editing and retouching phase. In my experience each hour spent photographing a family or newborn results in between four and eight hours editing the selected images and this can be even longer in the case of technically difficult retouching. I have therefore decided to write about my workflow and what happens behind the scenes after your session to demystify the process, shed light on why professional photography costs what it does and to give context to why it can take some time to deliver the finished product.
BUT ONE THING FIRST…..
The more I have edited the more I have honed and developed my skills, particularly in the realm of retouching. These days I occasionally take on retouching work for other photographers who don’t have the time or skillset to do it themselves. Whilst retouching can yield incredible results it is no substitute for getting things right in the first instance. No matter how talented your photographer (or their editor) is please don’t assume that Photoshop is a good substitute for ironing clothes, wearing well fitting underwear or having your hair colour touched up. Many photographers won’t retouch things that were avoidable, and if they do they will generally charge an additional fee to do so.
STEP ONE: BACKING-UP
I photograph my session using two cameras, each containing two SD memory cards. This means there are backups from the second I press the shutter button. Immediately after each session I then download the cards to both a computer and an external hard-drive, ensuring the integrity of the backup process.
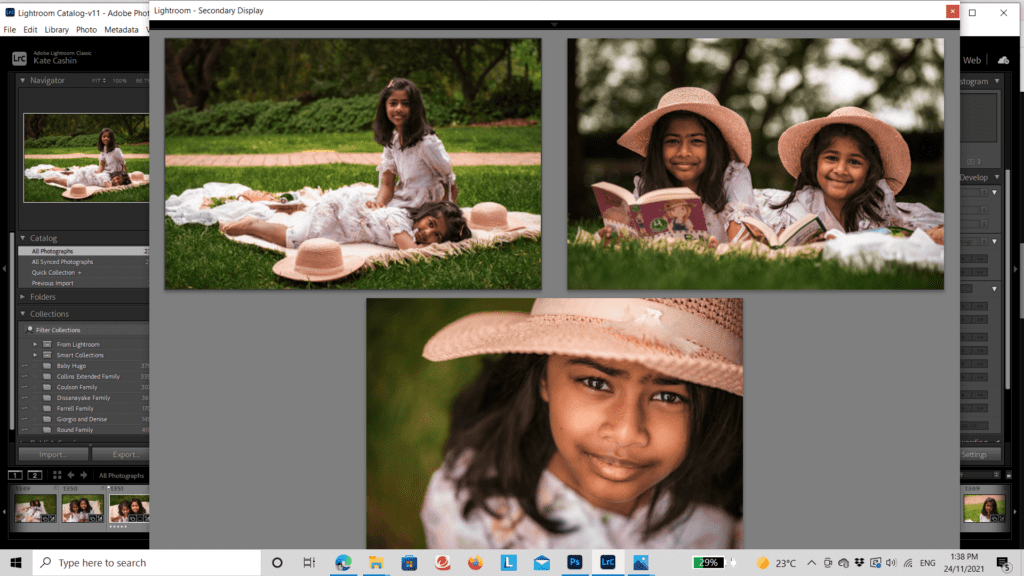
STEP TWO: CULLING
Next is the task of reducing the hundreds of images taken during a session down to the best of the best. First to go are anything out of focus, blurred or where subjects have been captured with an odd expression. Next to be eliminated are any duplicate images. Once that is done I then decide which image or images from each set to take through to the editing phase. Given I shoot at a range of focal lengths during sessions, as well as taking portrait and landscape orientations, I am always mindful of including variety and the version of each image which is most evocative. I will often complete culling over two or three sessions, coming back to review what I’m choosing with fresh eyes and a clear mind.
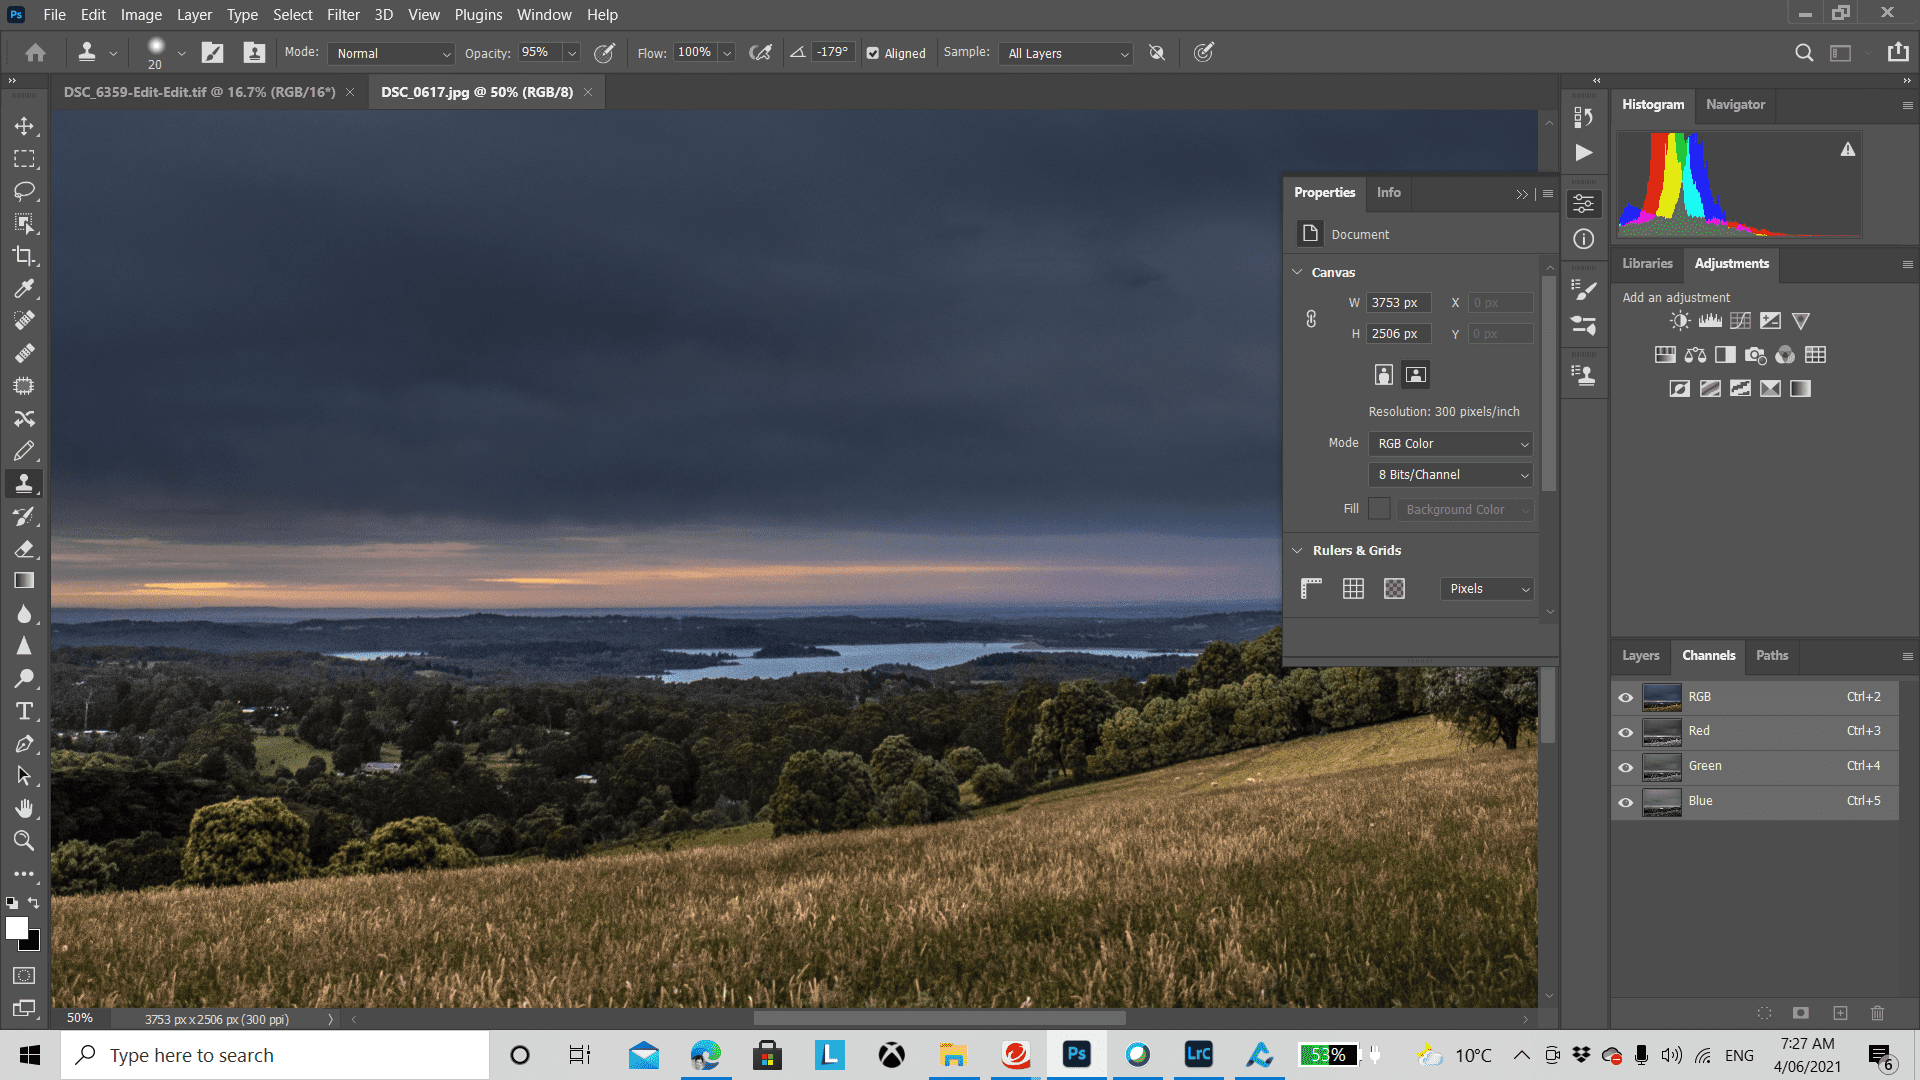
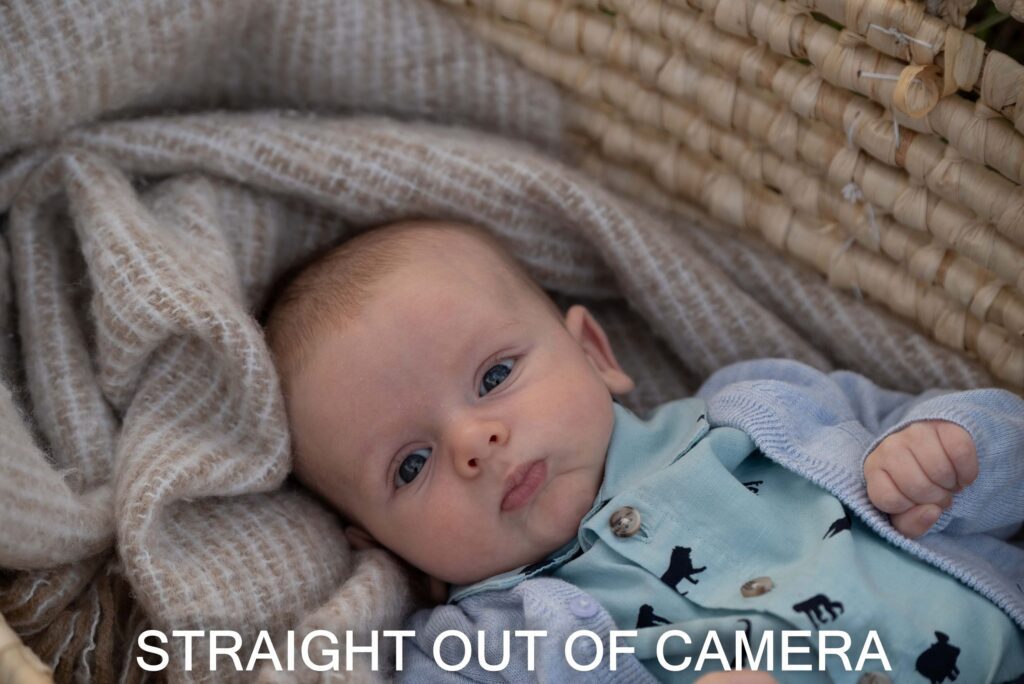
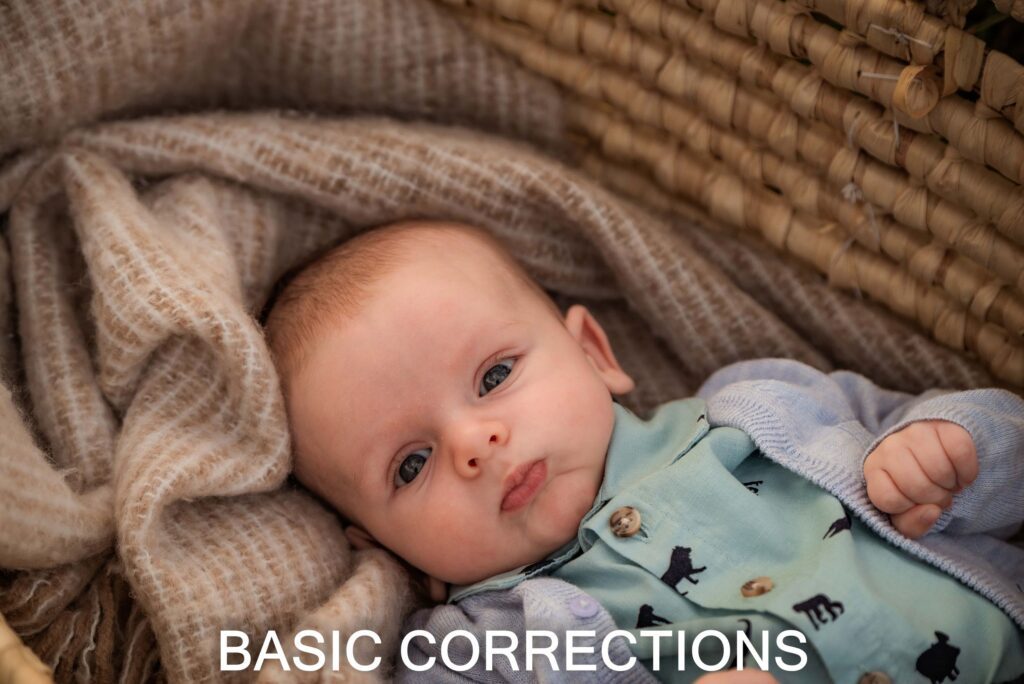
STEP THREE; WHITE BALANCE, EXPOSURE AND COLOUR CORRECTION
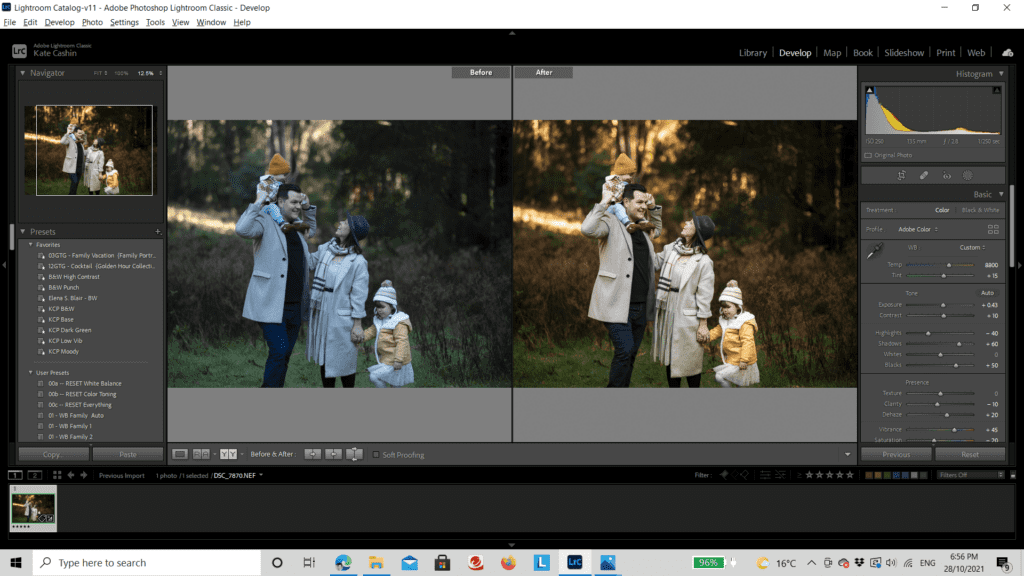
At this point the editing process begins in Lightroom with global “corrections” to the images including white balance, exposure and colour correction. This step essentially brings the images from being flat and a little like a film negative to being closer to what was seen with the naked eye. If the light changed throughout the session, or multiple locations were used, each setup needs to be individually corrected.
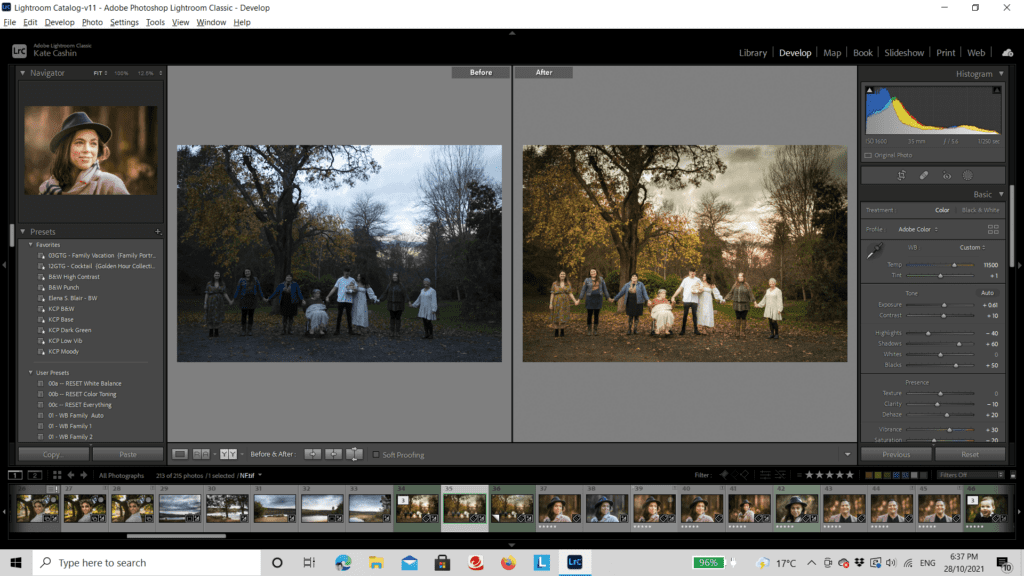
STEP FOUR: WHOLE OF IMAGE EDITING
Once the images are corrected I then begin applying creative adjustments to the image as a whole as the first step in delivering my style of photos. At this point it can include working on things like highlights, shadows, blacks, whites, tone, luminance, saturation and vibrance.
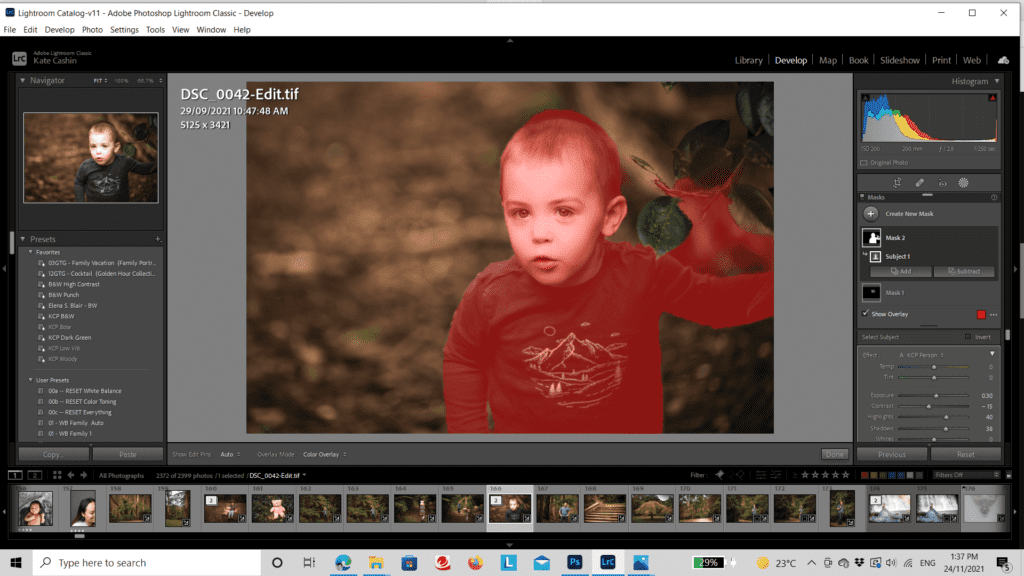
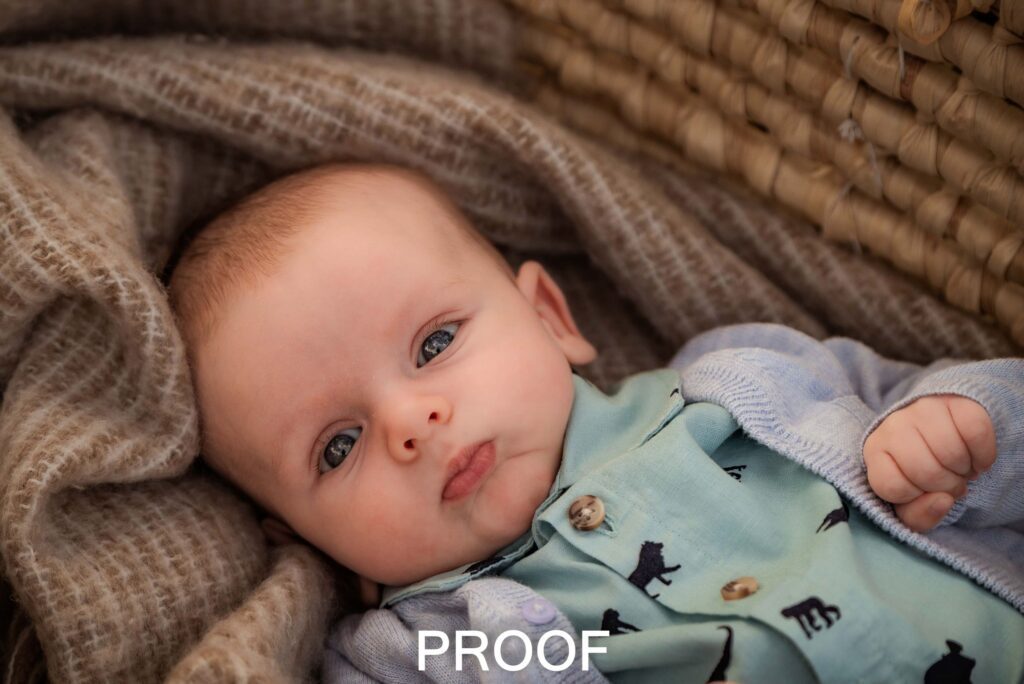
STEP FIVE: LIGHTROOM MASKS AND BRUSHES TO EDIT SPECIFIC PARTS OF THE IMAGE
After completing global corrections and adjustments I then continue editing in Lightroom, moving onto individual elements of the image such as the sky or the subject. This is done using masking and digital paint brushes and is the start of finetuning the image. At this step some basic retouching may occur such as brightening eyes, whitening teeth or lightening up transition glasses.
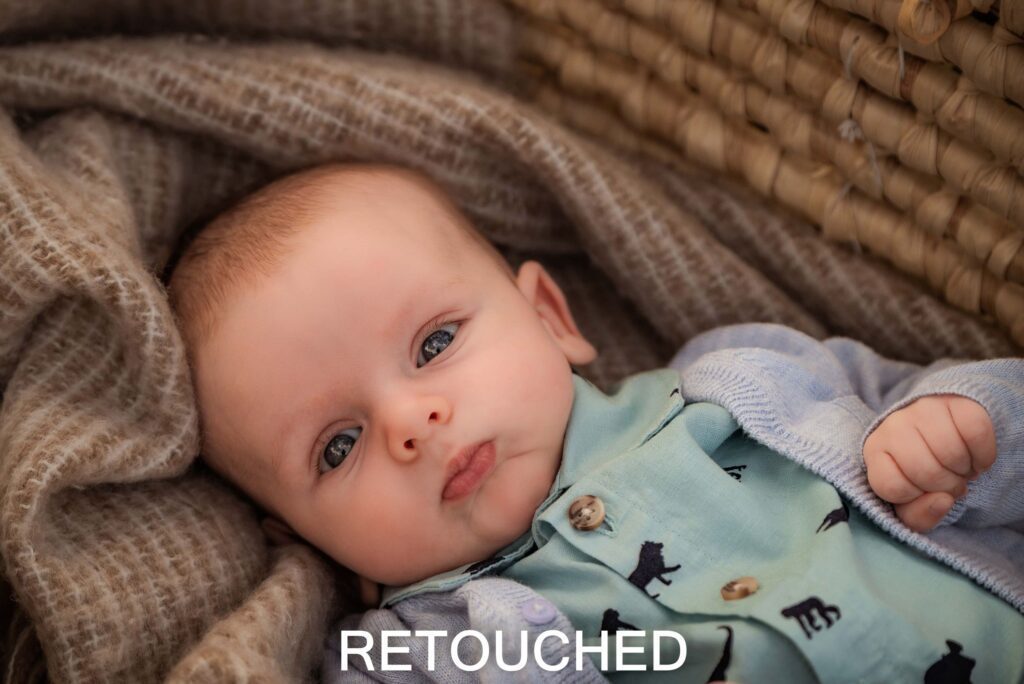
STEP SIX: PHOTOSHOP RETOUCHING
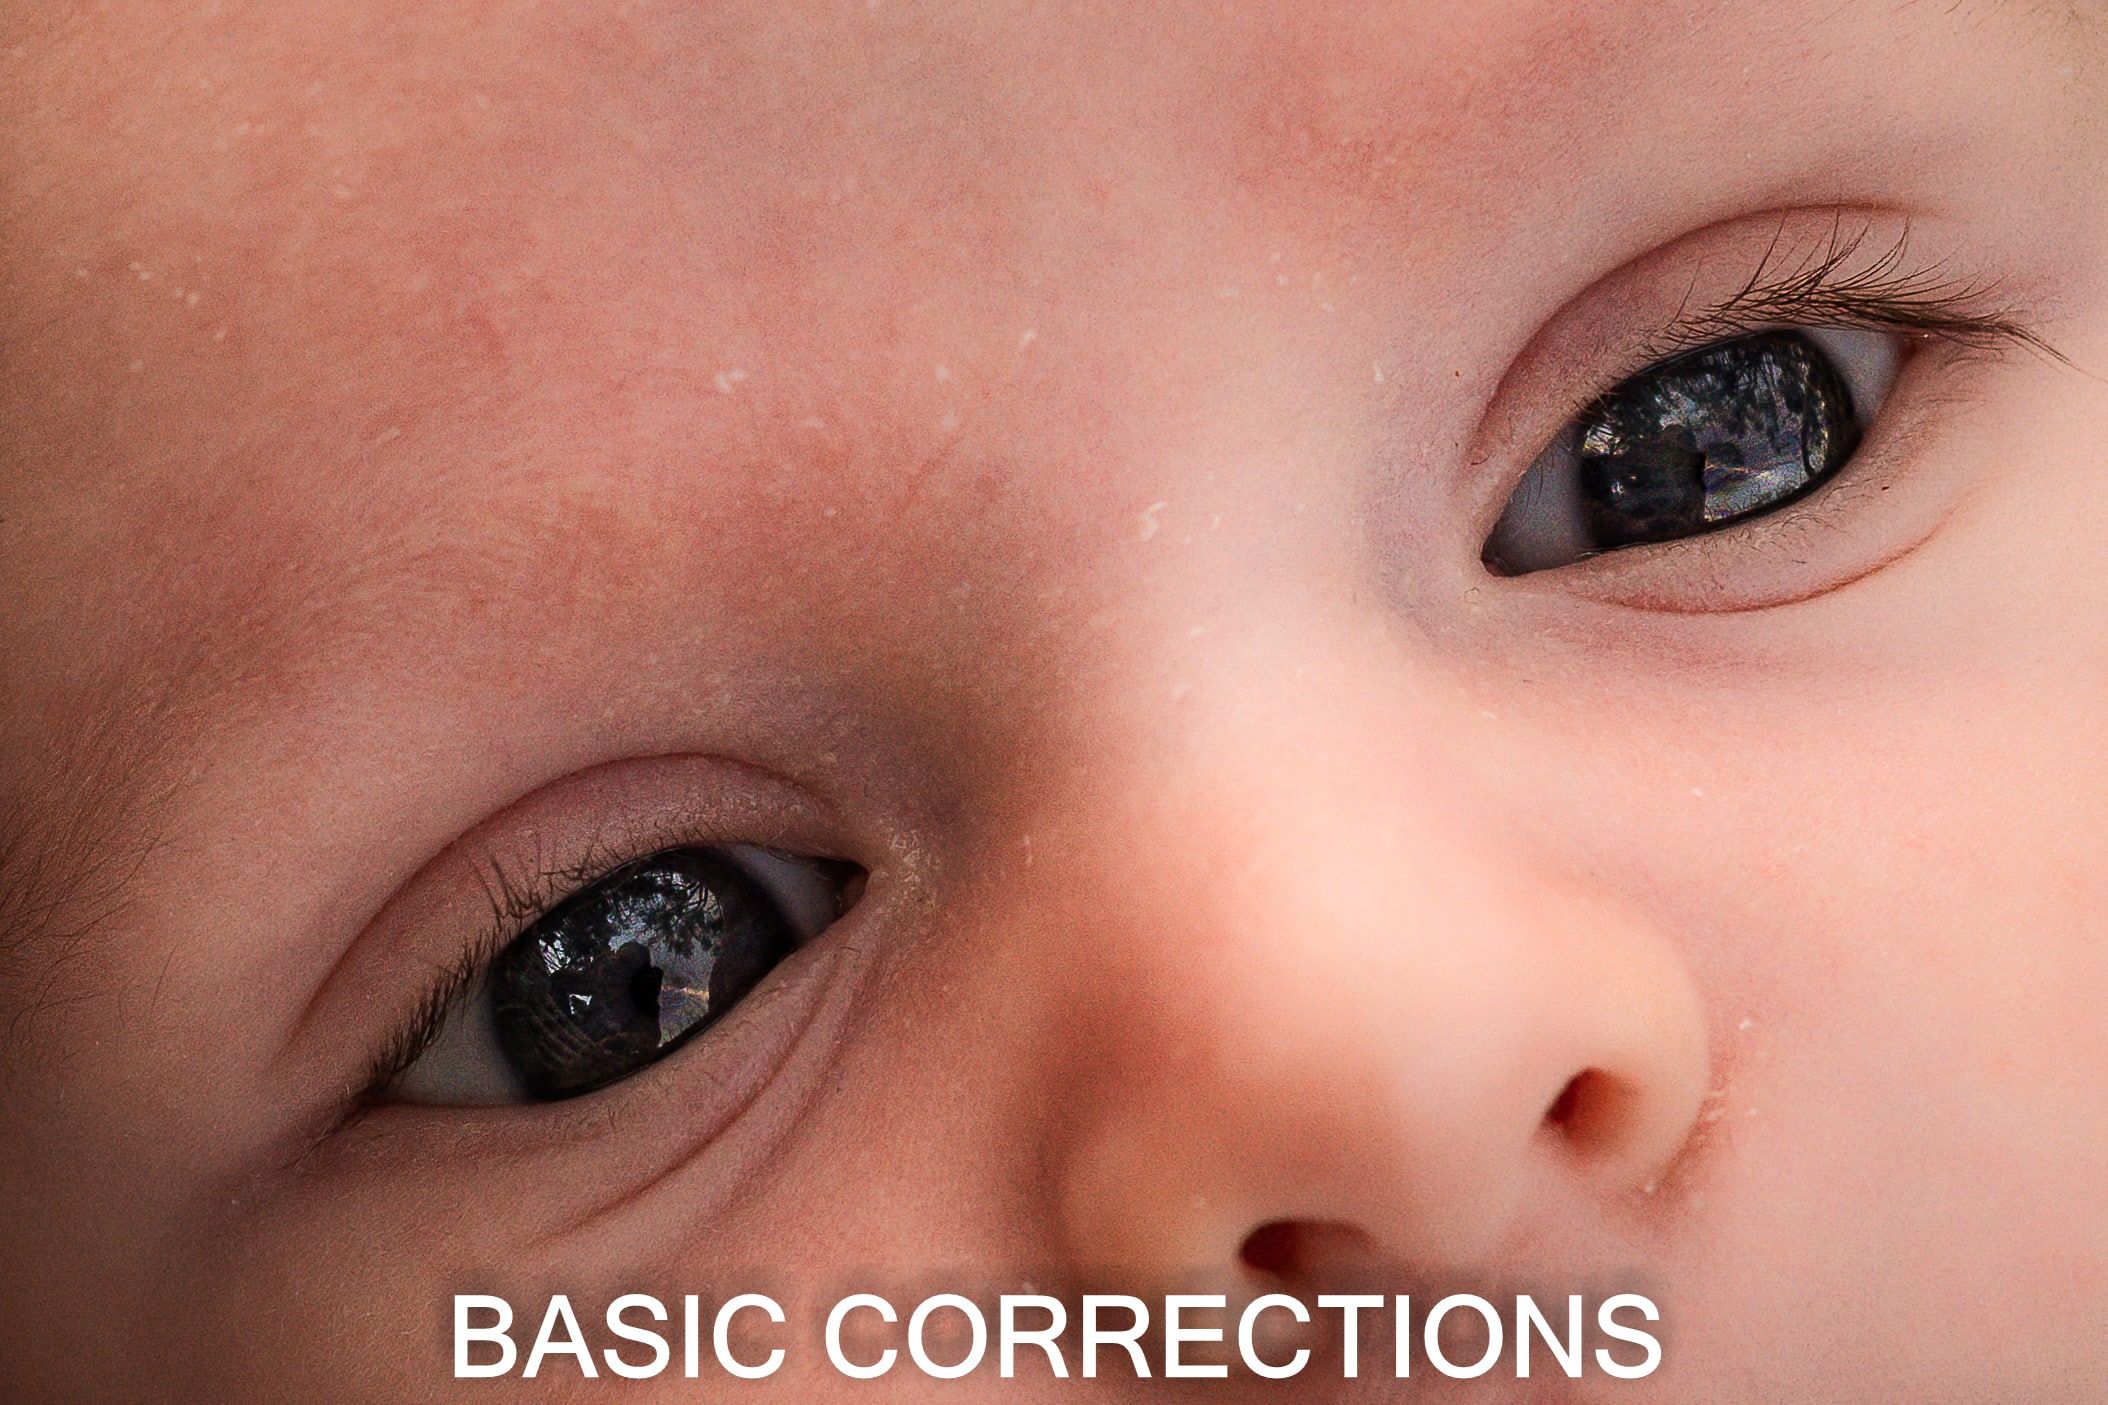
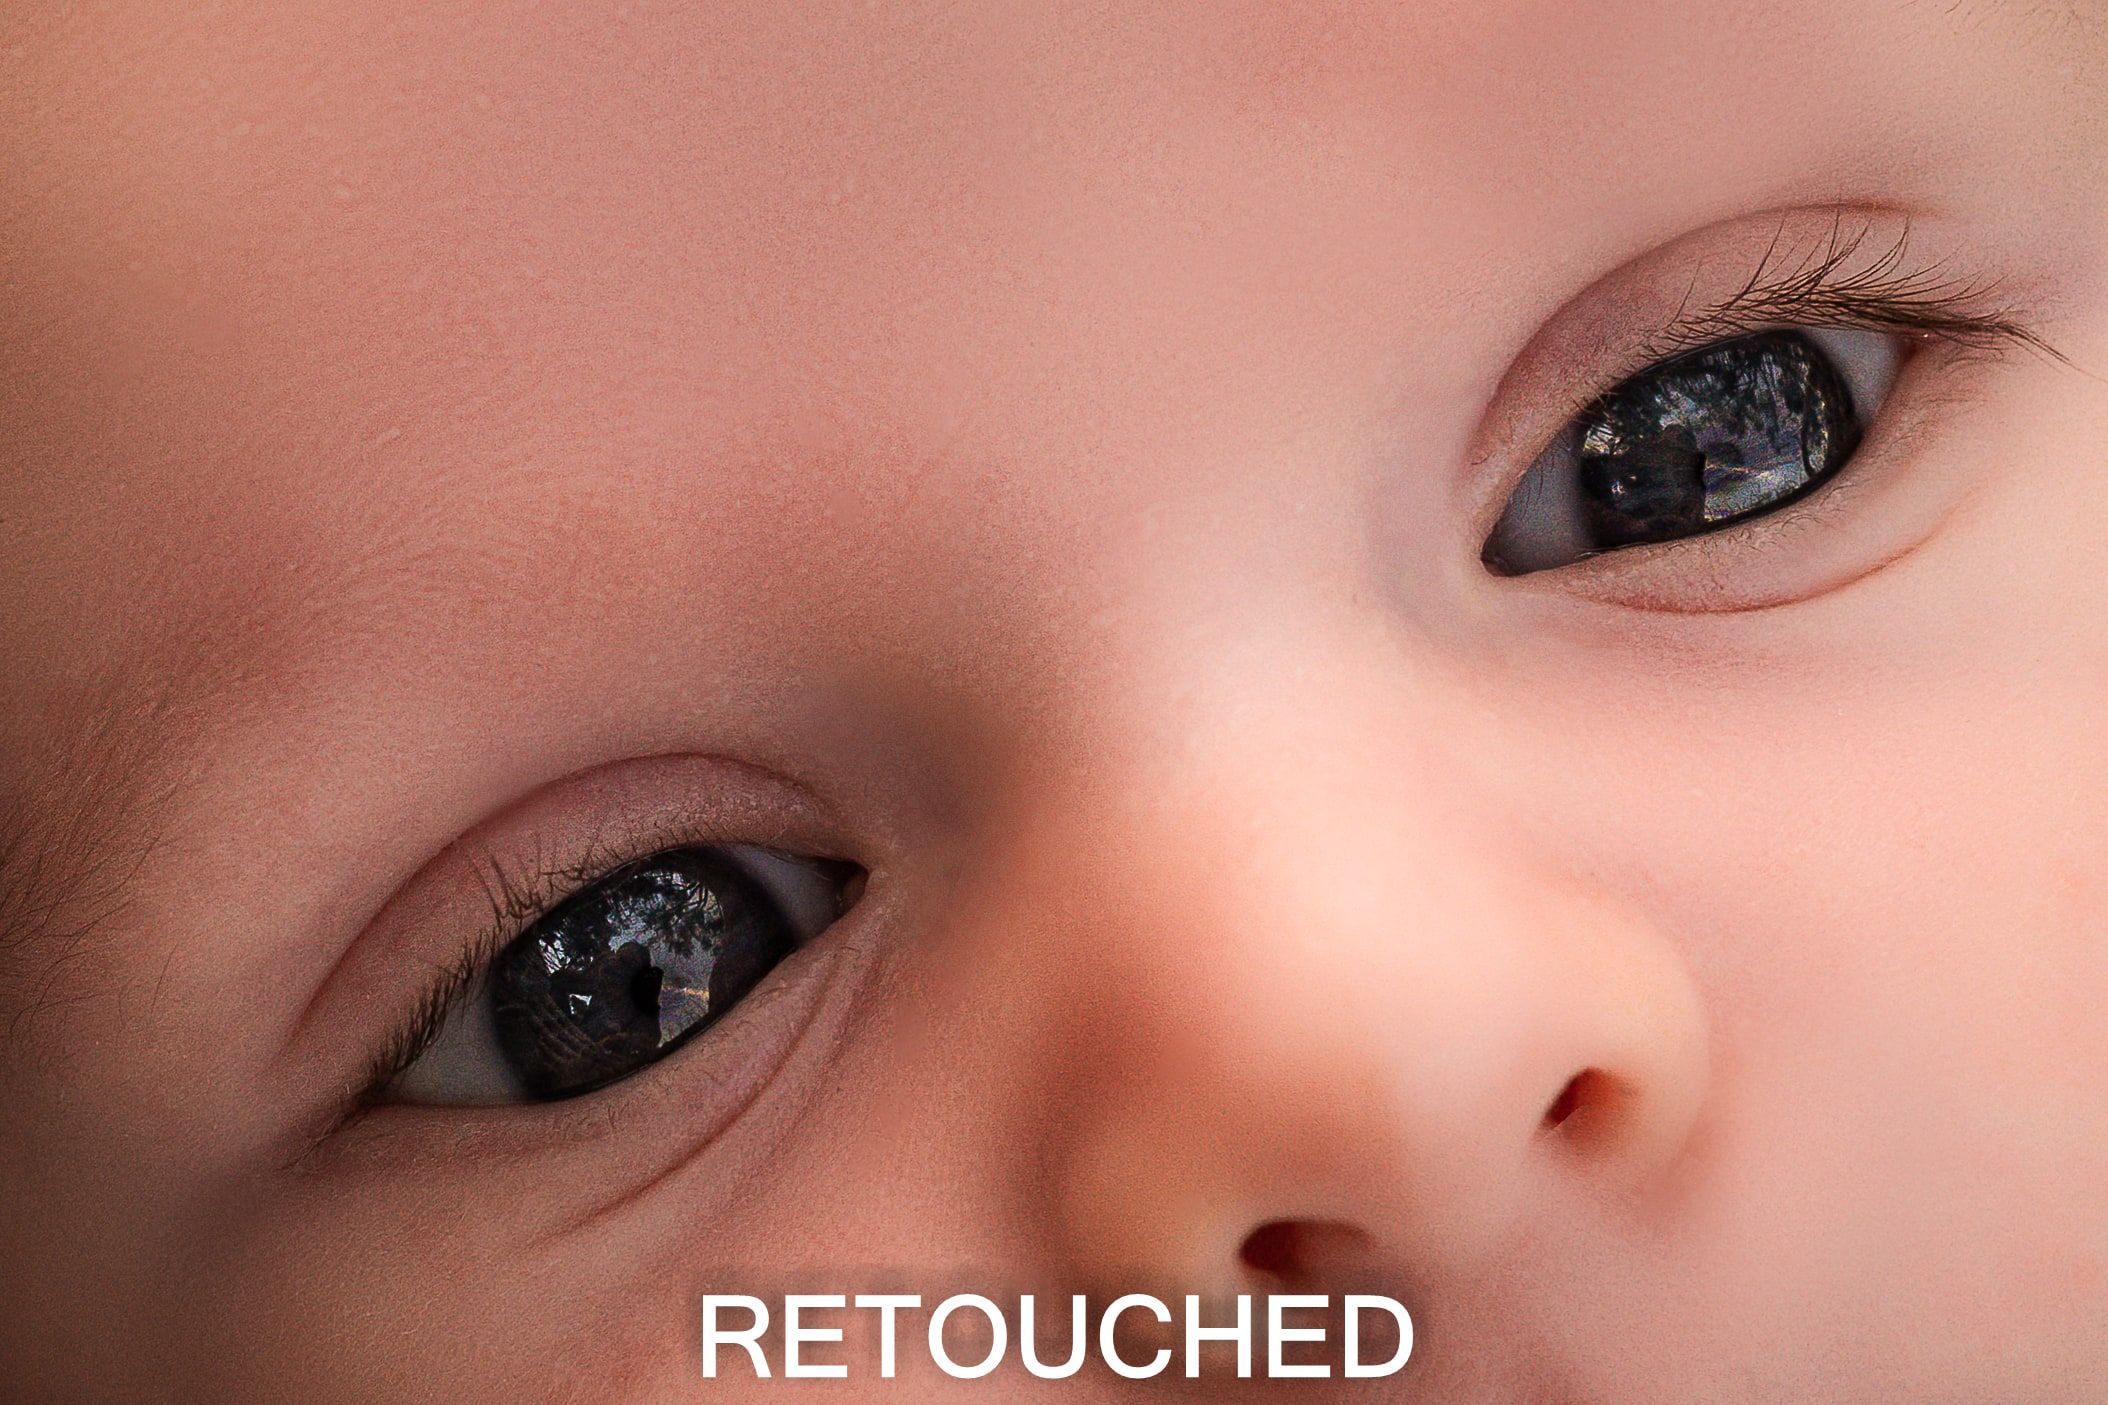
Once the capabilities of Lightroom have been exhausted I then transfer the image to Photoshop if additional or specialist retouching is required. This may include things like skin smoothing, removing multiple blemishes or flakey newborn skin and cloning out distracting background elements like signs or a passersby. If I need to create a composite image (that is combining elements from two or more photos) this also is performed at this step. One example of this is a head or a face swap where you take portions from the first image and superimpose them onto a second image, making sure they match seamlessly. This is done where there is a great shot but one or more people are blinking, looking away or pulling an unflattering expression. In the close-up below the flakes of skin and slightly uneven complexion were retouched in Photoshop.
STEP SEVEN: FINISHING TOUCHES
The final step is reviewing everything with fresh eyes and adding any finishing touches to ensure cohesion between images in the gallery or an artistic edge to certain photos. Depending on the specifics this may be done in either Photoshop or Lightroom. For me this often can include manipulating sunlight, fog or haze as well as cropping and deciding on whether an image works well in black and white. Then and only then is it time to export the images ready to be uploaded into the client’s online gallery.
ONE LAST THING…..
No article on retouching can be complete without mentioning the topic of body and self image. As a photographer this is a difficult line to walk. I want clients to love their photos and themselves in those photos and that means harnessing, and to an extent enhancing, what is before me. Whilst each gallery is a case by case matter I will happily brighten teeth or lighten under eye shadows so you look like you’ve had a great night’s sleep but am less comfortable undertaking body sculpting or extreme retouching. This is because I want client’s images to be fundamentally true to their best-selves and I don’t want to be part of perpetuating society’s unrealistic expectations. If you are body conscious or have a feature or features you are not a fan of I encourage you to speak to your photographer – whether that is me or someone else – during your preshoot consultation. That way, in the first instance, every effort can be made to address these concerns at the moment the image is captured and an honest conversation can be had about what is achievable in post-production, both from a technical and an ethical perspective.
COMMENTS